HANDBUILDING - FALL, SEPTEMBER-OCTOBER 18, 2023
October 18, 2023
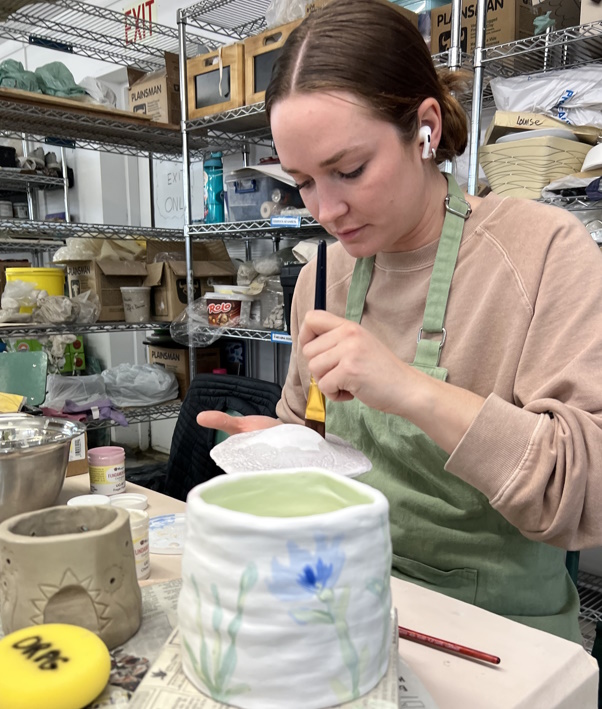
All of your works have been bisque fired. We were introduced to Surface Decoration last week with Underglazed. We used two strategies with this: newspaper resist and applicatio of tissue prints. The next stage will be to apply a clear glaze. For this class, we use Duncan Pure Brilliance which we fire to cone 05 (low fire).
We learned how to make underglazes by using a slip recipe with added colorants.
Strategies for Decorating the Surface of your Green ware using slips, underglazes and stamps
Slips and Stains
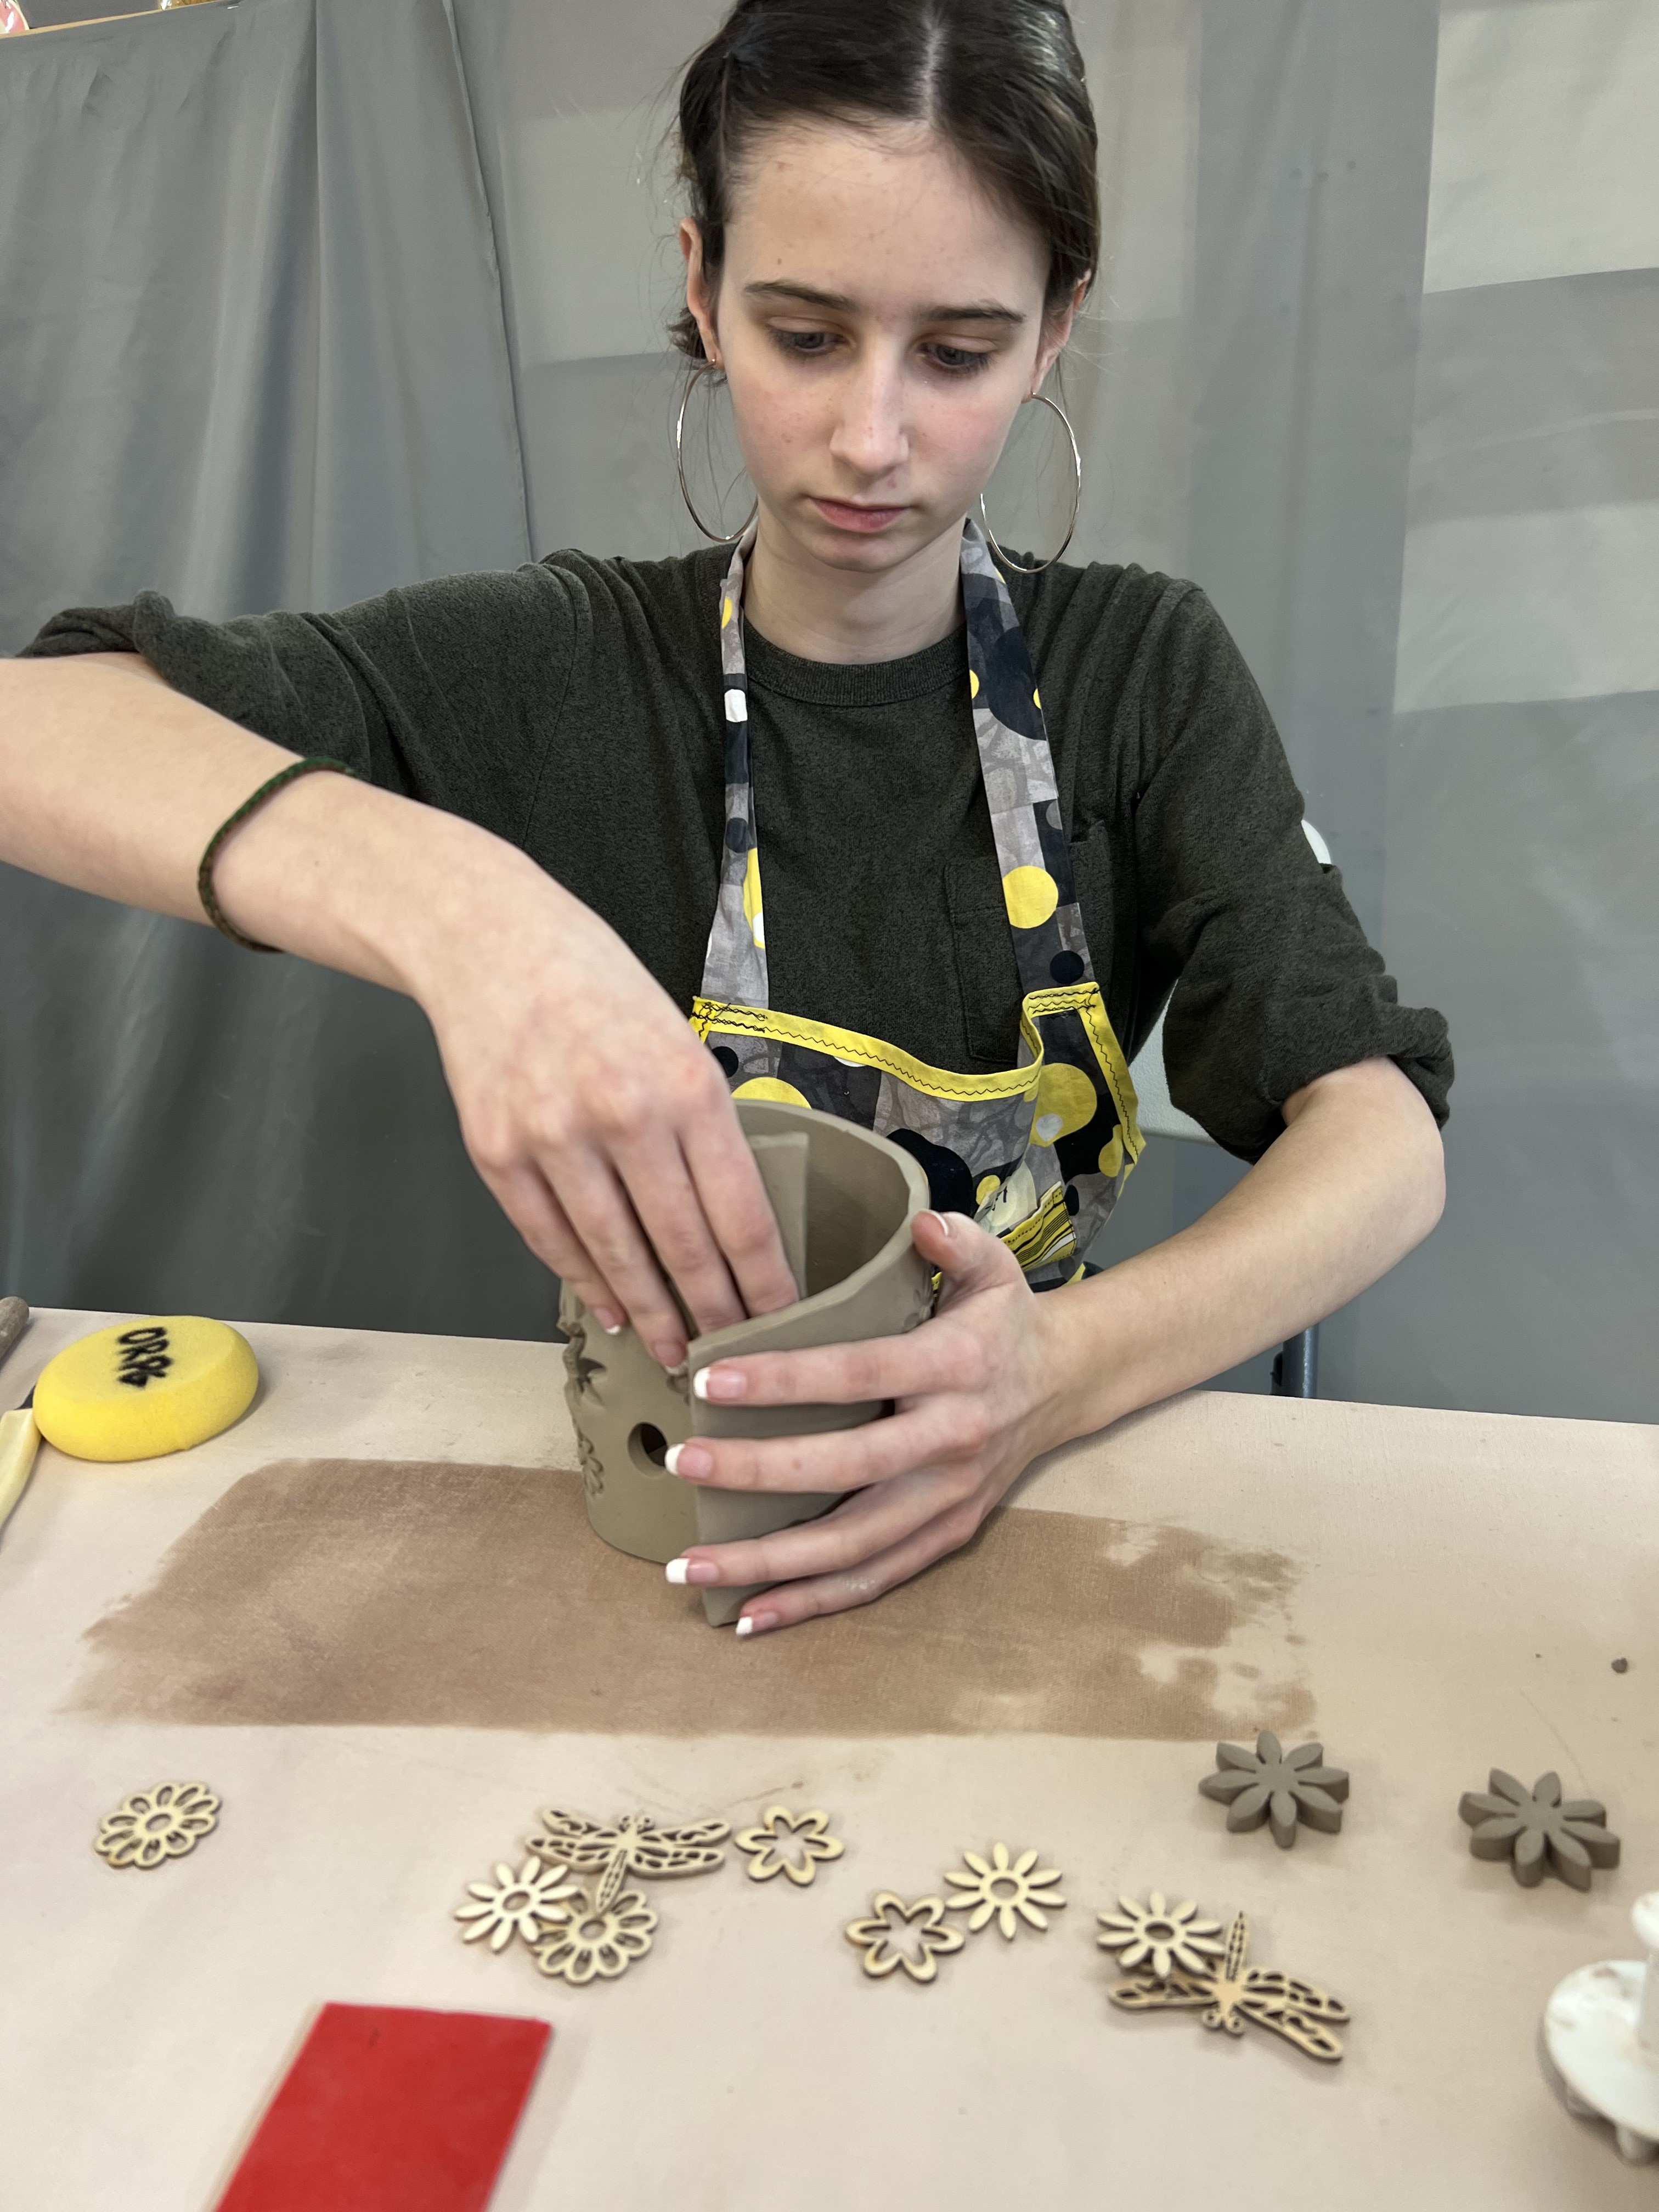
Hand built forms in clay
include a mix of surface decoration which might include commercial underglazes, slips, stains
and glazes. When considering colour
and surface decoration, the word “slip” refers to a recipe based medium for a
colorants. People working with clay commonly refer to slip
and understand the word as a
liquefied suspension of clay particles in water which occurs whenever one works
with clay. There is also “slip-casting” which is also a recipe-based concept
and used with molds.
Often handbuilt forms in clay
include a mix of surface decoration which might include commercial underglazes, slips, stains
and glazes (often just a clear
glossy or matte). When considering colour and surface decoration, the word
“slip” refers to a recipe based medium for a colorants. People working with
clay commonly refer to slip and understand the word
as a liquefied suspension of clay
particles in water which occurs whenever one works with clay. There is also
“slip-casting” which is also a recipe-based concept and used with molds.
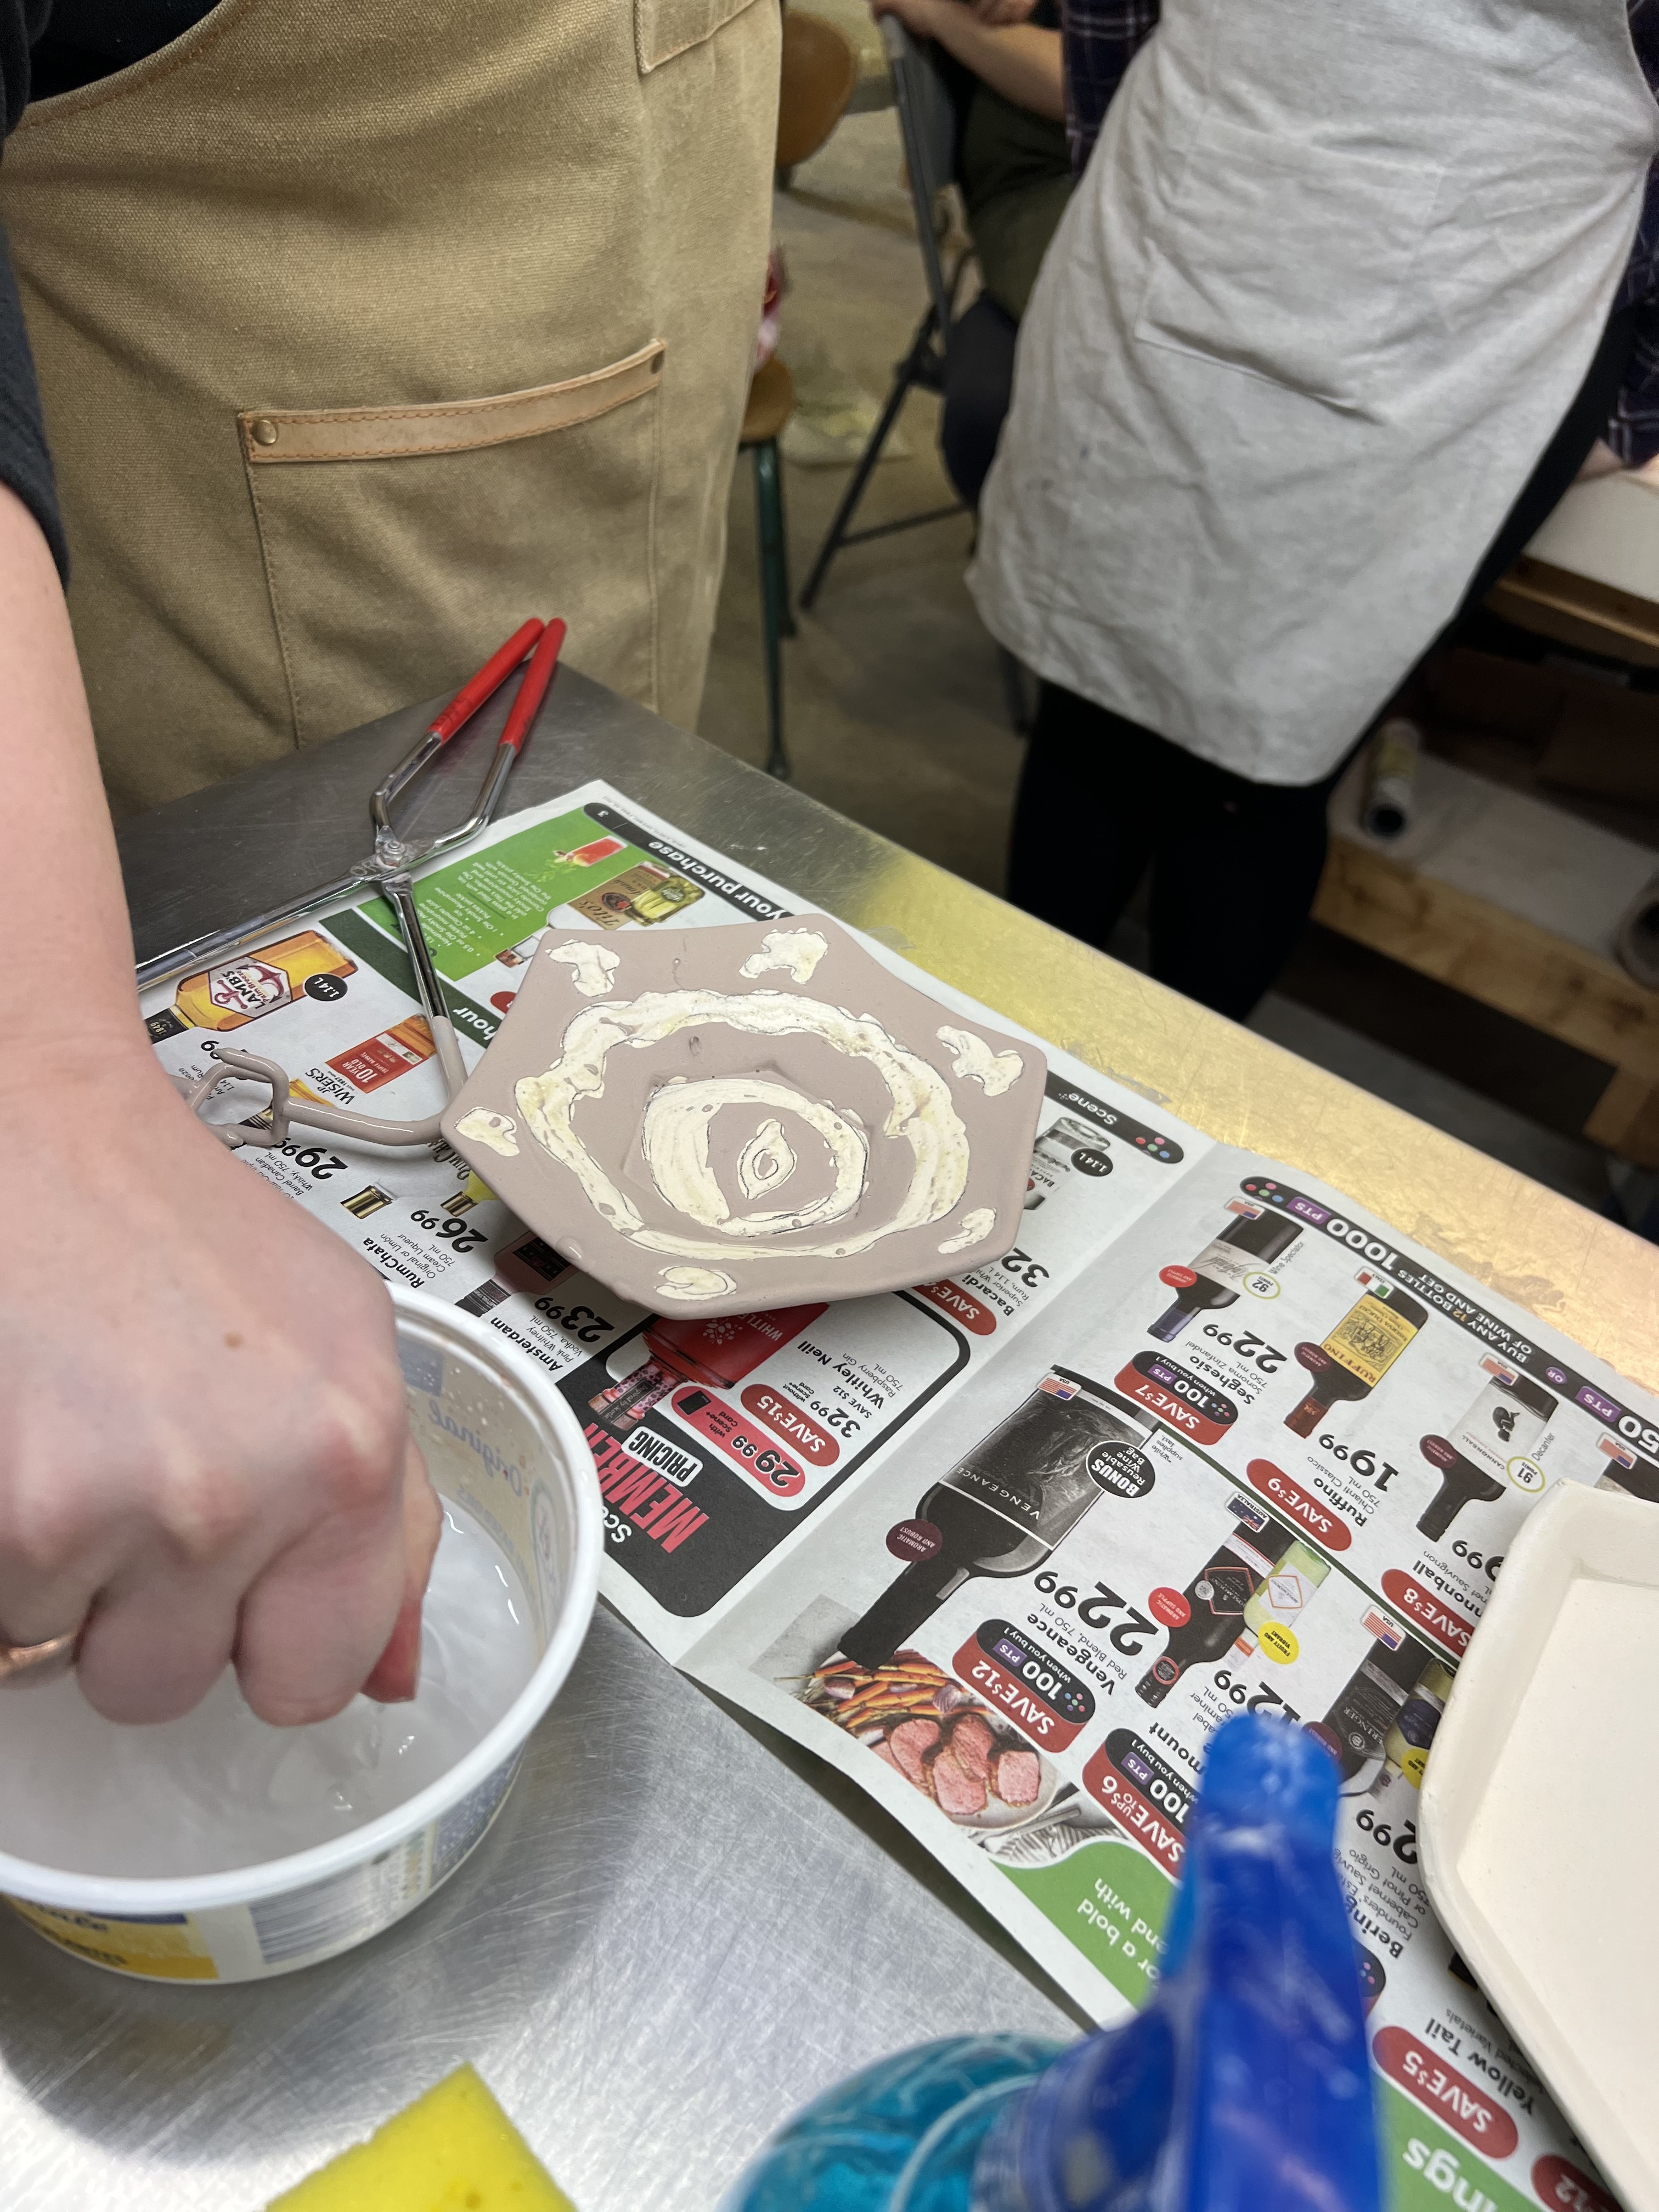
Slips are
applied to wet or soft leather-hard greenware. Slip used on bisque usually
follows an engobe recipe. They can
be washed away to create a weathered look.
Slips are
applied to wet or soft leather-hard greenware. Slip used on bisque usually
follows an engobe recipe. They can
be washed away to create a weathered look.
|
Susan Feagin (Cone 04-9) |
Sunshine
Cobb Base Slip |
Robin
Hopper: WHITE BASE Ball clay 75 Kaolin 10 Silica 10 Feldspar 5
|
Colorants
are added to the slips. There are two categories 1) Minerals 2) Mason Stains.
I. Common minerals: Rutile (tan); Cobalt
carbonate (blue – 1-3%); Iron Oxide (red-up to 15%); Copper Carbonate (green –
up to 10%); chrome (darker green 1-3%).
2. Mason stains: infinite
Replace Underglazes with Engobes on
Bisque Ware
Engobe recipe R Hopper –
|
Raw
Material |
Cone 04-3 |
Cone 4-6 |
Cone 6-10 |
|
Kaolin |
20 |
15 |
15 |
|
Calcined
Kaolin |
10 |
20 |
35 |
|
Talc |
25 |
10 |
5 |
|
Calcium
Borate (or Frit 3110) |
15 |
10 |
0 |
|
Nepheline
Syenite |
0 |
10 |
15 |
|
Silica |
15 |
20 |
15 |
|
Borax |
5 |
5 |
5 |
|
Zircopax |
10 |
10 |
10 |
|
Total |
|
|
|
Class Pictures are coming


.jpg)


.jpg)


